![]()
Krasnogorsk-3: Disassembly
See the Krasnogorsk-3 assembly video here.
Disassembling the K-3 so that the interior is accessible is not difficult. The difficult part is putting it back together so that the camera works!
Step 1
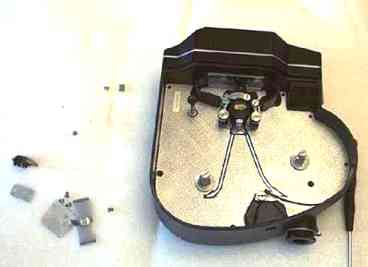
It is important to reattach the main driving sprocket in the same relative position as it was removed. So, before loosening it, either neatly scribe a line across it and the main drive shaft for later reference or dab it with some paint. You can see a dab of yellow paint on this K-3.
Press the shutter button to wind down the spring!
Remove the gate (pull out), the film cutter (two screws), the plastic guide right below the drive sprocket (pull off) and the six screws holding the baffle plate.
Do not remove any other screws!
Especially the screws on the top of the feed and takeup spindle. One of them has a reverse thread and will break off if you try to remove it.
Step 2
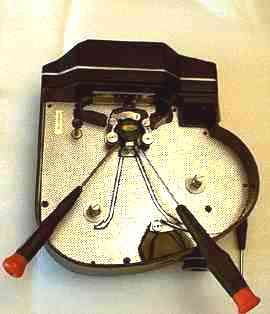
The main driving sprocket is held in place with two setscrews. Loosening these setscrews will allow the entire baffle plate to lift off.
The setscrew on the left side (as shown above) only should be unscrewed about one half-turn. The setscrew on the right side is against a flat on the drive shaft. You have to unscrew it a little bit more.
The main driving sprocket will stay "trapped" in the film guides.
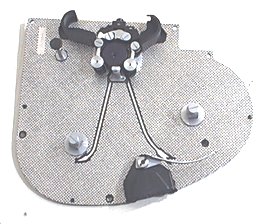
This entire baffle plate lifts out. You will have to guide it past the pulldown claw. If you have forgotten to wind down the spring you find out about it now!
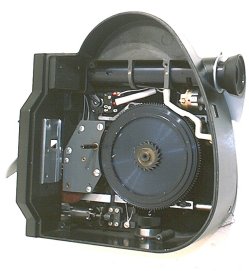
Check the bottom of the main drive sprocket. There might be some thin spacing washers stuck to it. If there are, remove them and slide them onto the sprocket drive shaft. There is also a black foam ring and a little plastic ring on the drive shaft. If it falls off, just stick it back on.
See the Krasnogorsk-3 assembly video here.
> K-3 Manual (pdf)
> K-3 Videos
> FAQ
> Tech Info
> Lightmeter Info
> Lens Mount
> Disassembly
>> Front
>> Inside
> Assembly
>> Inside
______________
ACCESSORIES
TimeFlow
Intervalometer
Lightmeter
Battery
______________
_______________
OTHER NCS
WEBSITES
intervalometers.com
> Arri
> Bolex
> Eyemo/Filmo
> Film Resources

